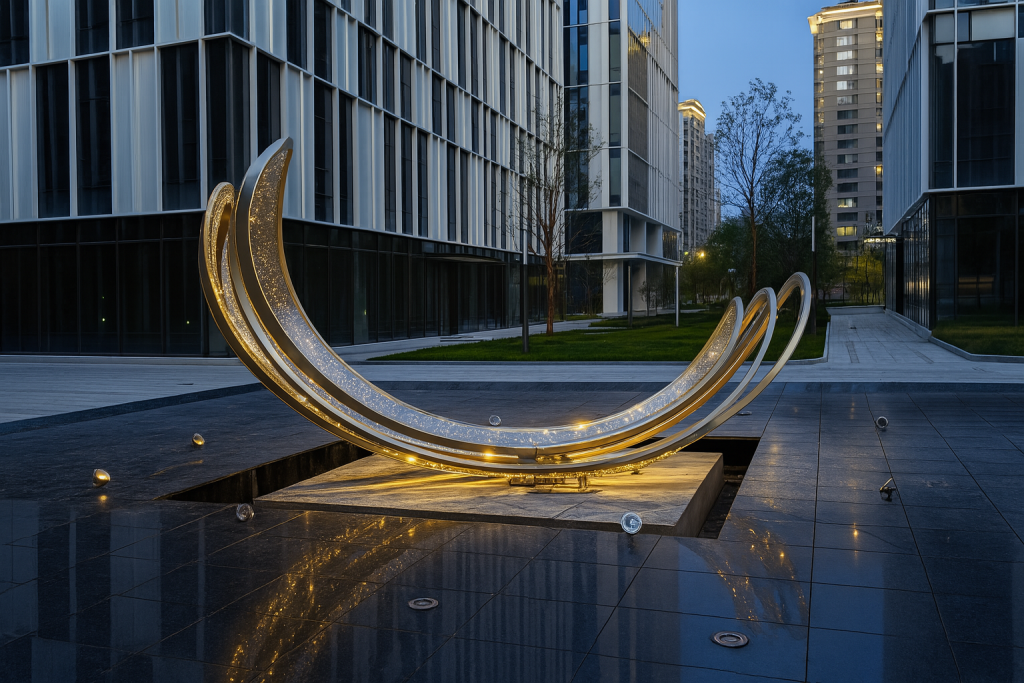
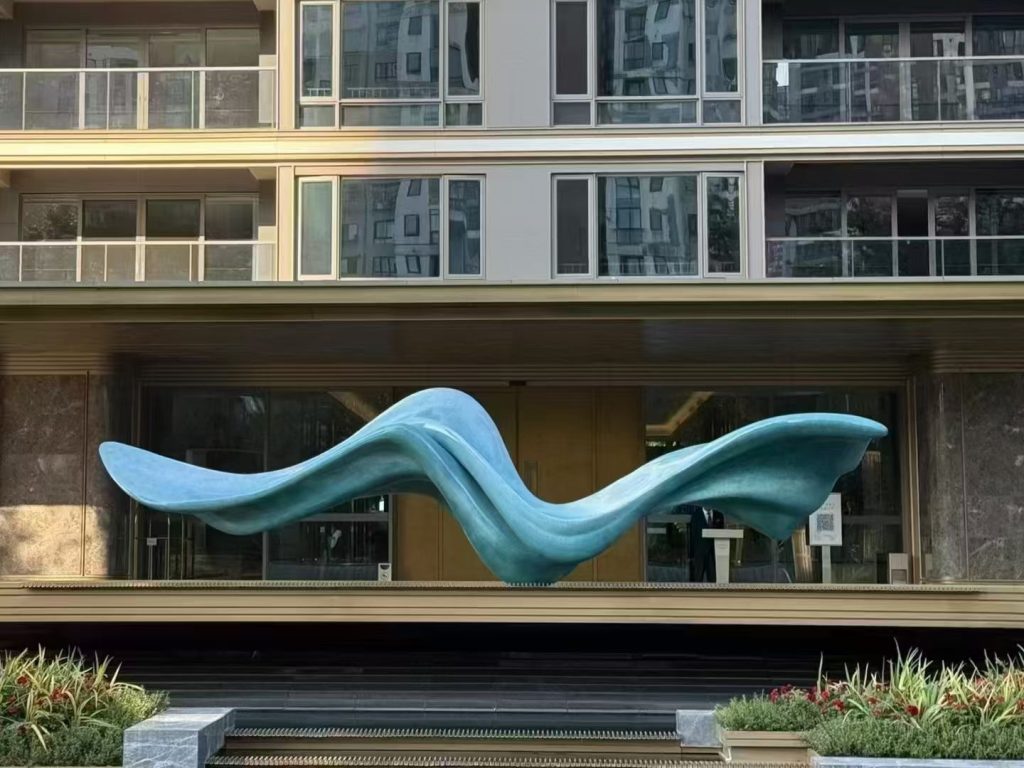
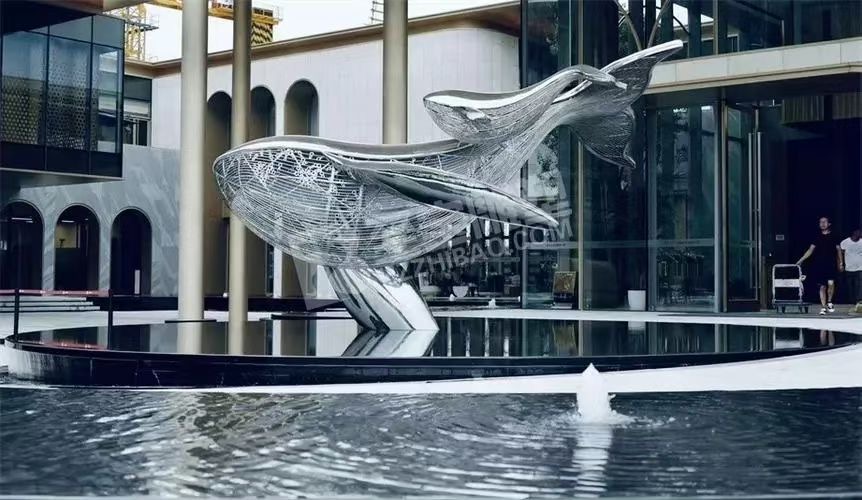
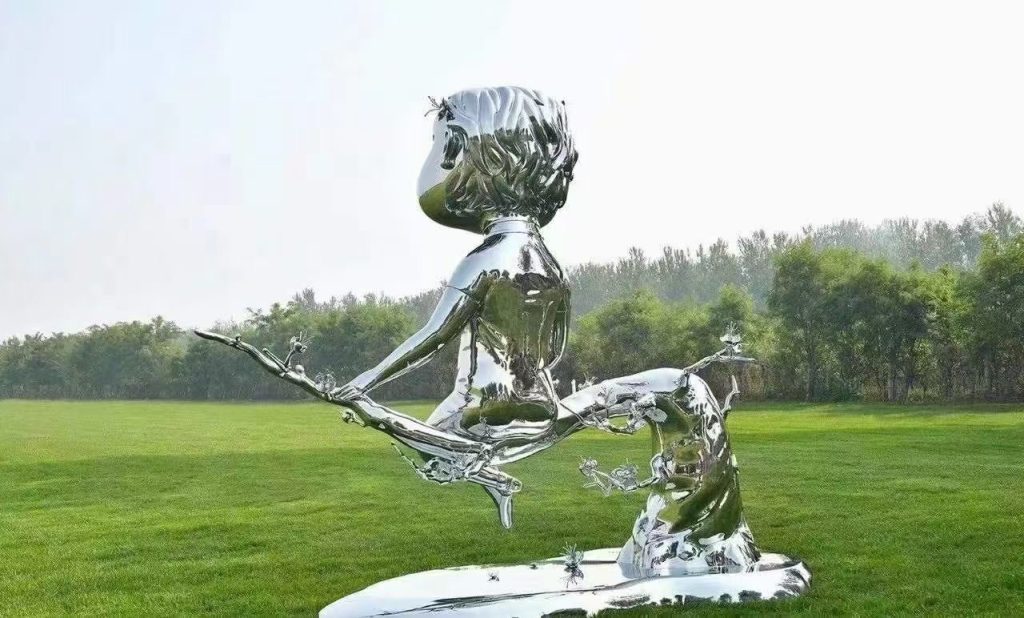
Introduction
Stainless steel sculptures have become a popular choice for outdoor public spaces, private gardens, and commercial environments due to their modern look, durability, and low maintenance. But while the design and fabrication of a sculpture are important, proper installation is equally critical. A well-installed sculpture ensures not only safety but also long-term visual impact. In this article, we walk you through the typical installation process for stainless steel sculptures.

1. Site Preparation
Before installation, it’s essential to prepare the location where the sculpture will be placed. This includes:
- Measuring the Area: Ensure the sculpture fits the designated space without obstruction.
- Ground Assessment: Evaluate whether the ground is concrete, grass, soil, or tile, and determine if it can support the sculpture’s weight.
- Weather Conditions: For outdoor sculptures, check for exposure to wind, rain, or sun and plan accordingly.
In some cases, a concrete base or steel foundation must be poured a few days in advance to allow it to set.
2. Transporting the Sculpture
Transporting a stainless steel sculpture must be done with great care. Steps include:
- Protective Wrapping: The sculpture is covered with foam, blankets, and shrink wrap to prevent scratches or dents.
- Lifting Equipment: Cranes, forklifts, or hoists may be needed depending on the size and weight of the sculpture.
- Team Coordination: At least two or more people are usually involved to guide and stabilize the process.
Always ensure the sculpture arrives intact and without damage before moving to installation.
3. Positioning and Anchoring
Once the sculpture is at the site, the next step is anchoring it securely.
Common anchoring methods:
- Embedded Bolts: Pre-installed bolts in the sculpture base are aligned with holes in the concrete or steel foundation.
- Chemical Anchors: Industrial-grade adhesive is used to secure bolts inside pre-drilled holes.
- Welding to Steel Plates: For larger installations, welding the base plate to a steel foundation offers maximum stability.
Once fixed, use a level to ensure the sculpture stands upright and aligned.
4. Final Adjustments and Cleaning
After anchoring, perform a final inspection and clean the sculpture:
Seal Welds: For some outdoor projects, sealing welded joints may be required to protect against rust over time.
Check Balance: Ensure the sculpture is stable and not wobbly.
Polish the Surface: Remove fingerprints, stains, or dirt using a soft cloth and stainless steel cleaner.
5. Safety and Maintenance Tips
Safety First: Always wear gloves, helmets, and safety shoes during installation.
Routine Checks: For public sculptures, inspect anchor points and structure annually.
Avoid Harsh Chemicals: Use only mild cleaning agents to protect the finish.

Conclusion
Installing a stainless steel sculpture is a detailed process that requires planning, precision, and teamwork. Whether you’re working on a private garden statue or a large-scale urban artwork, proper installation ensures the sculpture remains secure and visually striking for many years to come.
If you’re considering a custom stainless steel sculpture, our team provides full installation guidance and support. Contact us via WhatsApp to learn more.